![]()
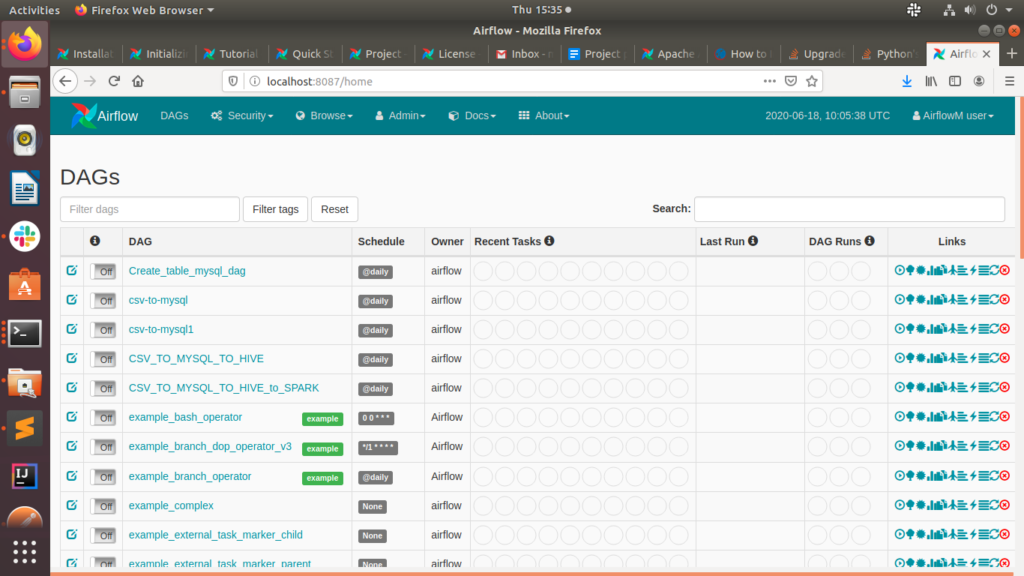
Airflow is a platform which is used for schedule and monitoring workflow.
Airflow Provided operators and Hooks and behalf of it we can create pipelines for multiple platforms. Airflow presents workflows as directed Acyclic Graphs (DAGs). The Airflow’s Scheduler executes the task show Visualization of pipeline flow on Airflow’s Webserver. It will automate your queries, python code and jupyter notebook. In Code airflow provide retry policy built in. Given an Easy interface to interact with logs.
Installation Steps
1. We Required python 3 in our local environment because Apache Airflow supports python’s native libraries so for that let’s fulfill that requirements.
sudo apt update
sudo apt install software-properties-common
sudo add-apt-repository ppa:deadsnakes/ppa
sudo apt update
sudo apt install python3.6
python3 ––version
2. This command is used to install all things which are required and airflow supported DB, Cloud, warehouse tools, Security purposes everything is enabled after that command.
pip3 install ‘apache-airflow[all]
3. Check all you have to enable airflow folder
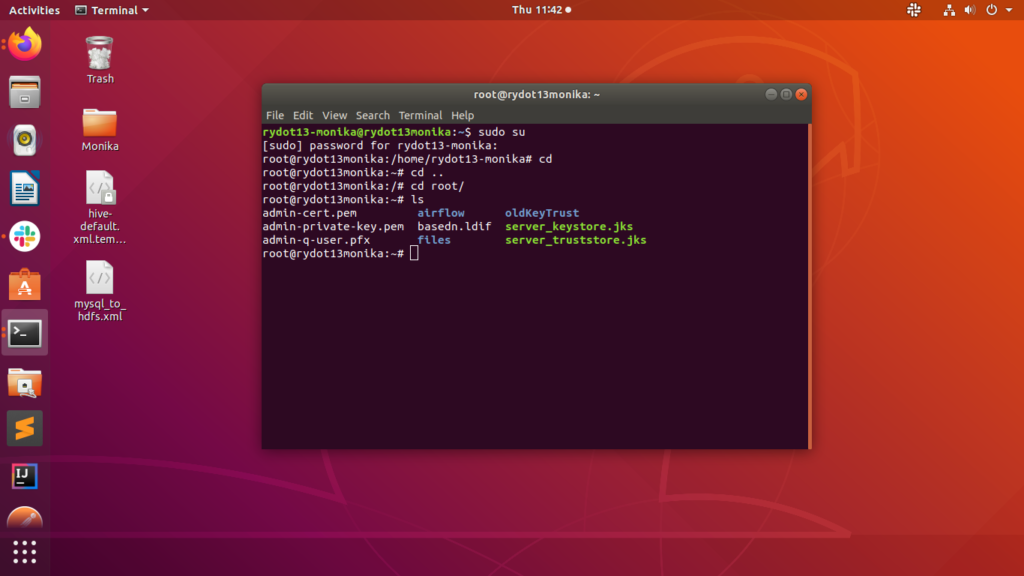
Once you can open the airflow folder you can find some files like airflow.cfg, logs, usr extra.
Connection of Airflow with Database
Airflow initdb
We need to connect airflow to mysql and for that we need to add something.
1. We have to specify explicit_defaults_for_timestamp=1 in your my.cnf under mysqld.
2. We rely on more strict ANSI SQL settings for MySQL in order to have sane defaults. Make sure to have specified explicit_defaults_for_timestamp=1 in your my.cnf under [mysqld]
3. Once we are adding this in my.cnf after that we are going to airflow.cfg
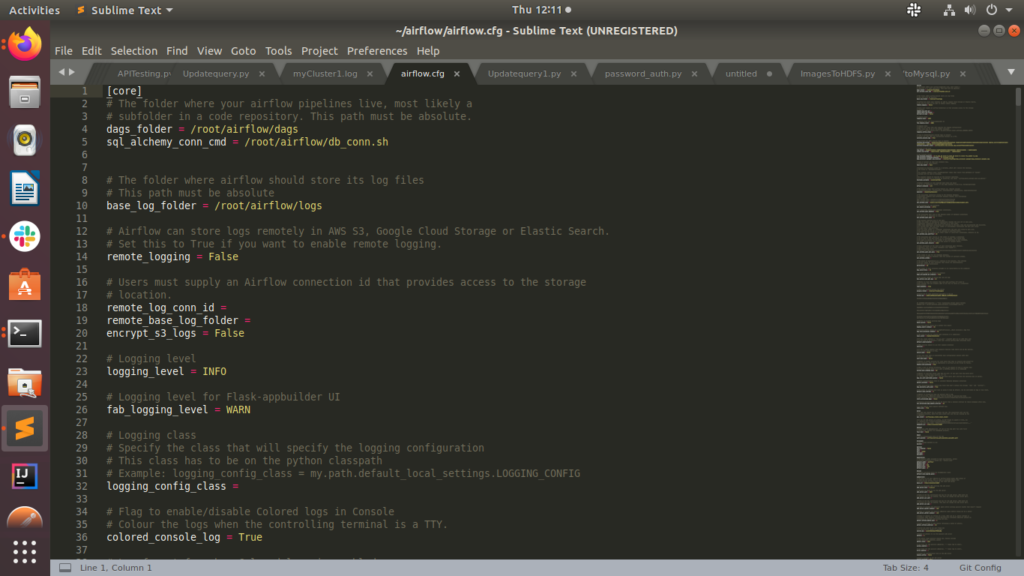
See in airflow.cfg we need to change 2 things first: dag_folder directory as per your required location and second: sql_alchemy_conn_cmd and sql_alchemy_conn.
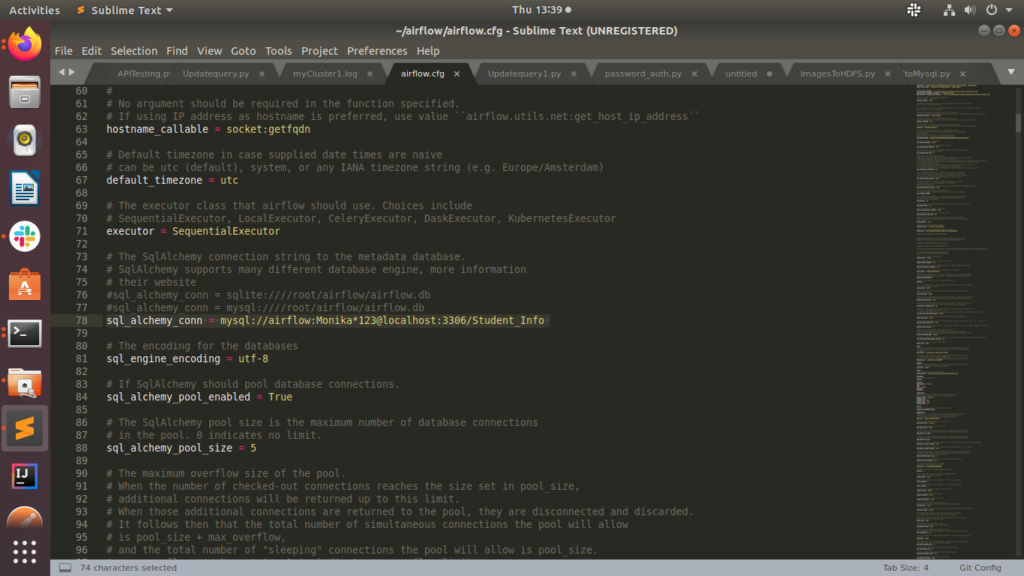
Note: I am applying sql_alchemy_conn first and after that try to connect with DB But it is not working after that I am applying sql_alchemy_conn_cmd and create db_conn.sh for that if your local environment successfully run with the sql_alchemy_conn that you don’t required db_conn.sh if it is not then follow the third step
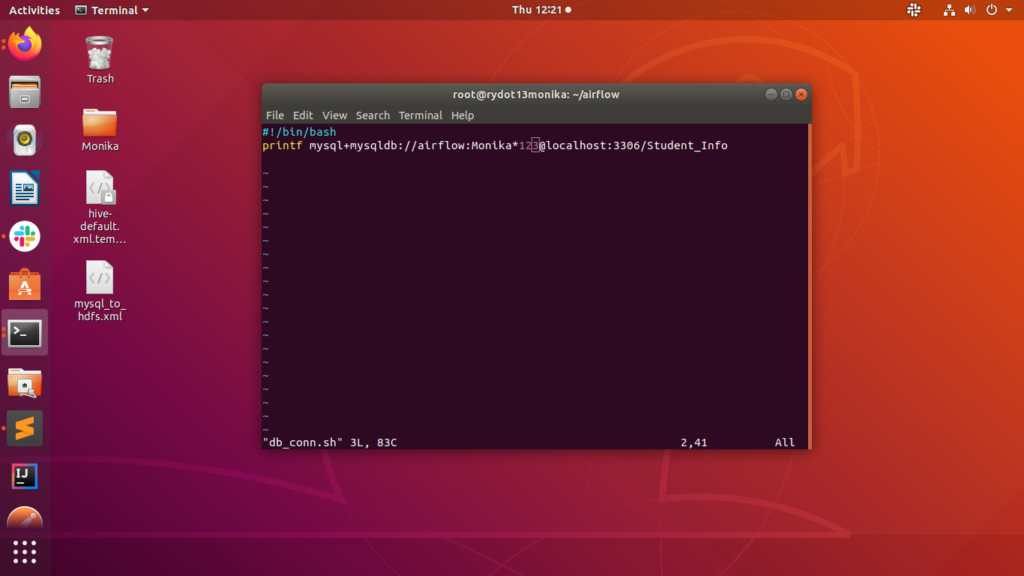
4. Now we need to create db_conn.sh in that path which we are already defining in the airflow.cfg file.
In that we have to return like that
printf mysql+mysqldb://UserOfYourmysql:PasswordForUser@localhost:3306/Schema_name
Once we can write that way it is directly redirect and call the airflow.cfg’s sql_alchemy_conn_cmd and execute the mysql information.
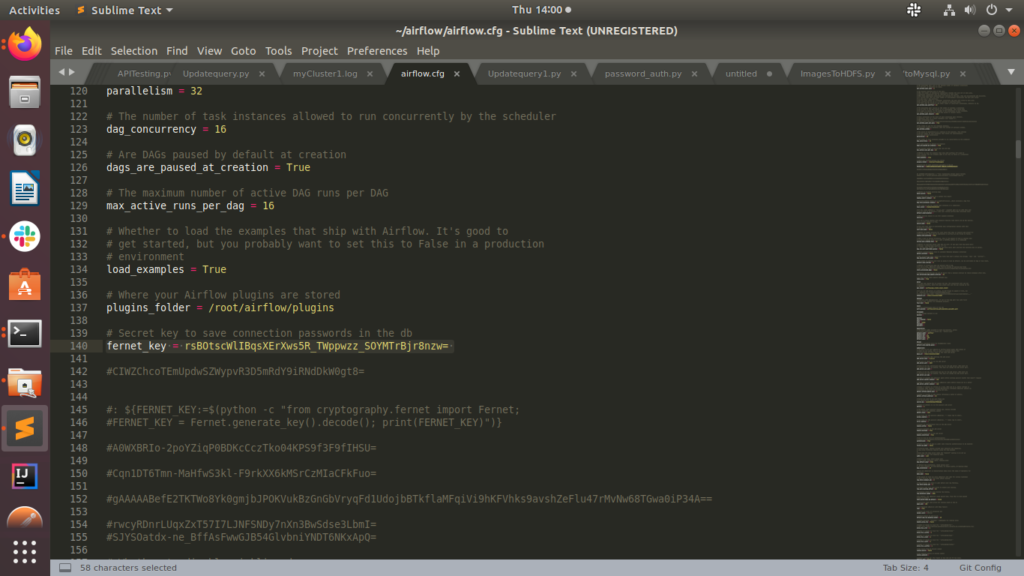
5. For Cryptography Password airflow connect with db with decoded format so we have to apply that so first of all i will see you how it is showing fernet key(decoded format of password)
Let’s start How we can generate fernet_key:
$pyhton3.6
>>>from cryptography.fernet import Fernet
>>>fernet_key = Fernet.generate_key()
>>>print(fernet_key.decode())
rsBOtscWlIBqsXErXws5R_TWppwzz_SOYMTrBjr8nzw=
Go to the airflow.cfg file comment the by default fernet key and add this new one.
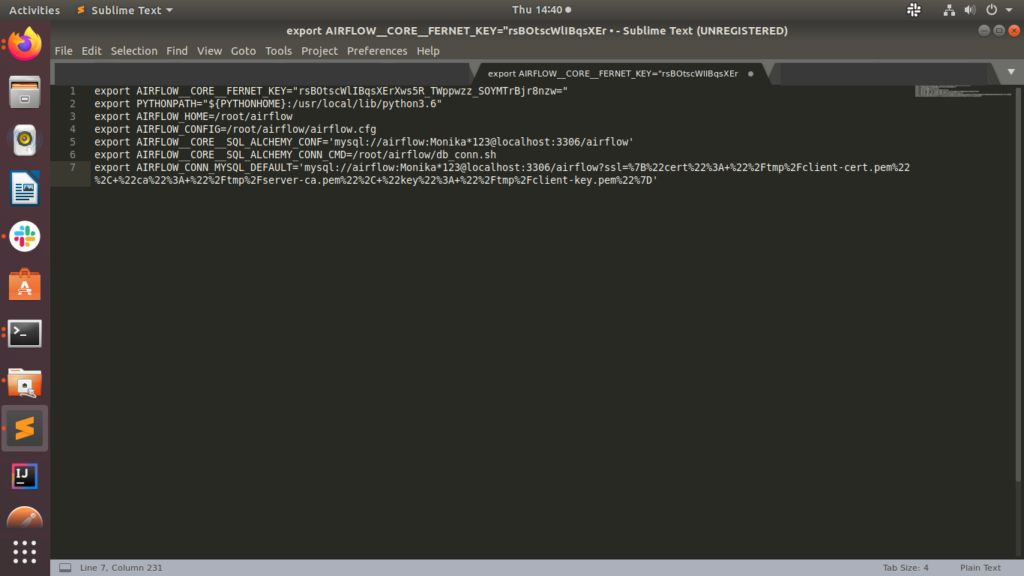
6. For .bashrc File we need to add environment variables
Let’s Start airflow web server and scheduler using this commands
airflow initdb
airflow webserver -p 8087
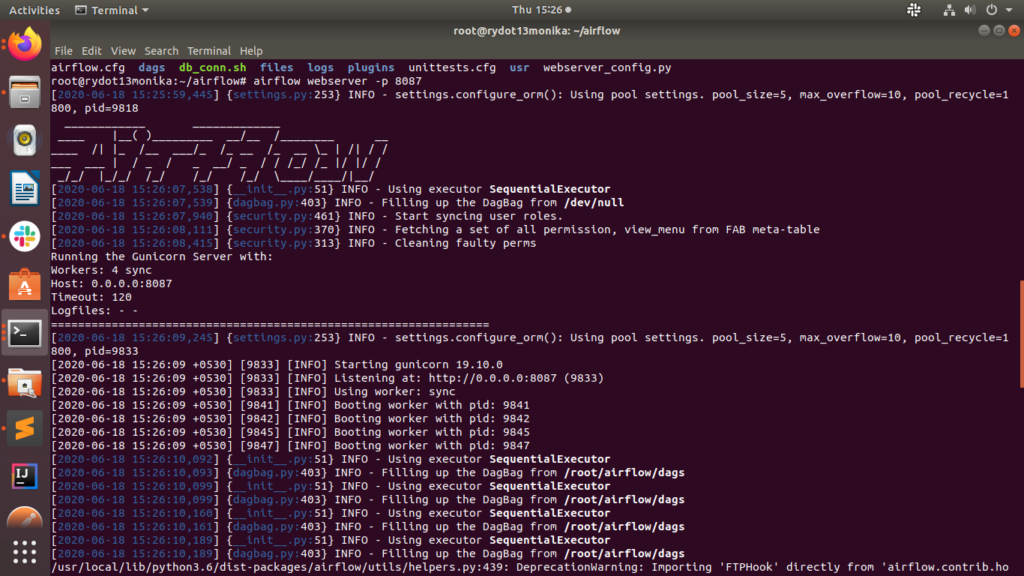
Airflow Scheduler

SO Finally it is Started 🙂